How to Paint a Watercolor StreetScape
How to Paint a LuminousWatercolor StreetScape
This demonstration is an example step by step of the second chapter of my DVD and PDF book Learn To Paint Luminous Watercolor StreetScapes and it have been painted
with transparent watercolors using my step by step- process.
transparent watercolors are great for achieving a luminous
glow in your work; however, the techniques and principles applied
in these demonstrations work equally well with opaque and semiopaque
watercolors.
When you complete a painting using the step by step process explained
in detail over the next several examples, you will achieve a variety of strong
midvalues that act as the glue holding the shapes together. Your darks
will be richer, giving the painting drama and strength. You will have
an area of clean, unpainted white paper, giving the painting light and
sparkle. And most importantly, you’ll have a strong center of interest to
lead the viewer’s eye.
STEP-ONE
the key to creating depth and luminosity in your watercolors is developing
your mid and dark values in the beginning stages of the painting rather than
the end. You can have beautiful colors, intriguing shapes and interesting textures,
but values are what make the painting inspiring. Another important part
of my step by step process is to preserve a bit of the white paper as a way to plan
sparkling highlights down the line.
Here are the stages that make up the step by step process:
SKETCH THE DRAWING
Draw the Largest Shapes. Draw a simple sketch of the buildings and cars in a correct perspective, and suggest the near and farest buildings. Focus mainly on the larger shapes. In this exercise the
base of the large building will be the center of interest.
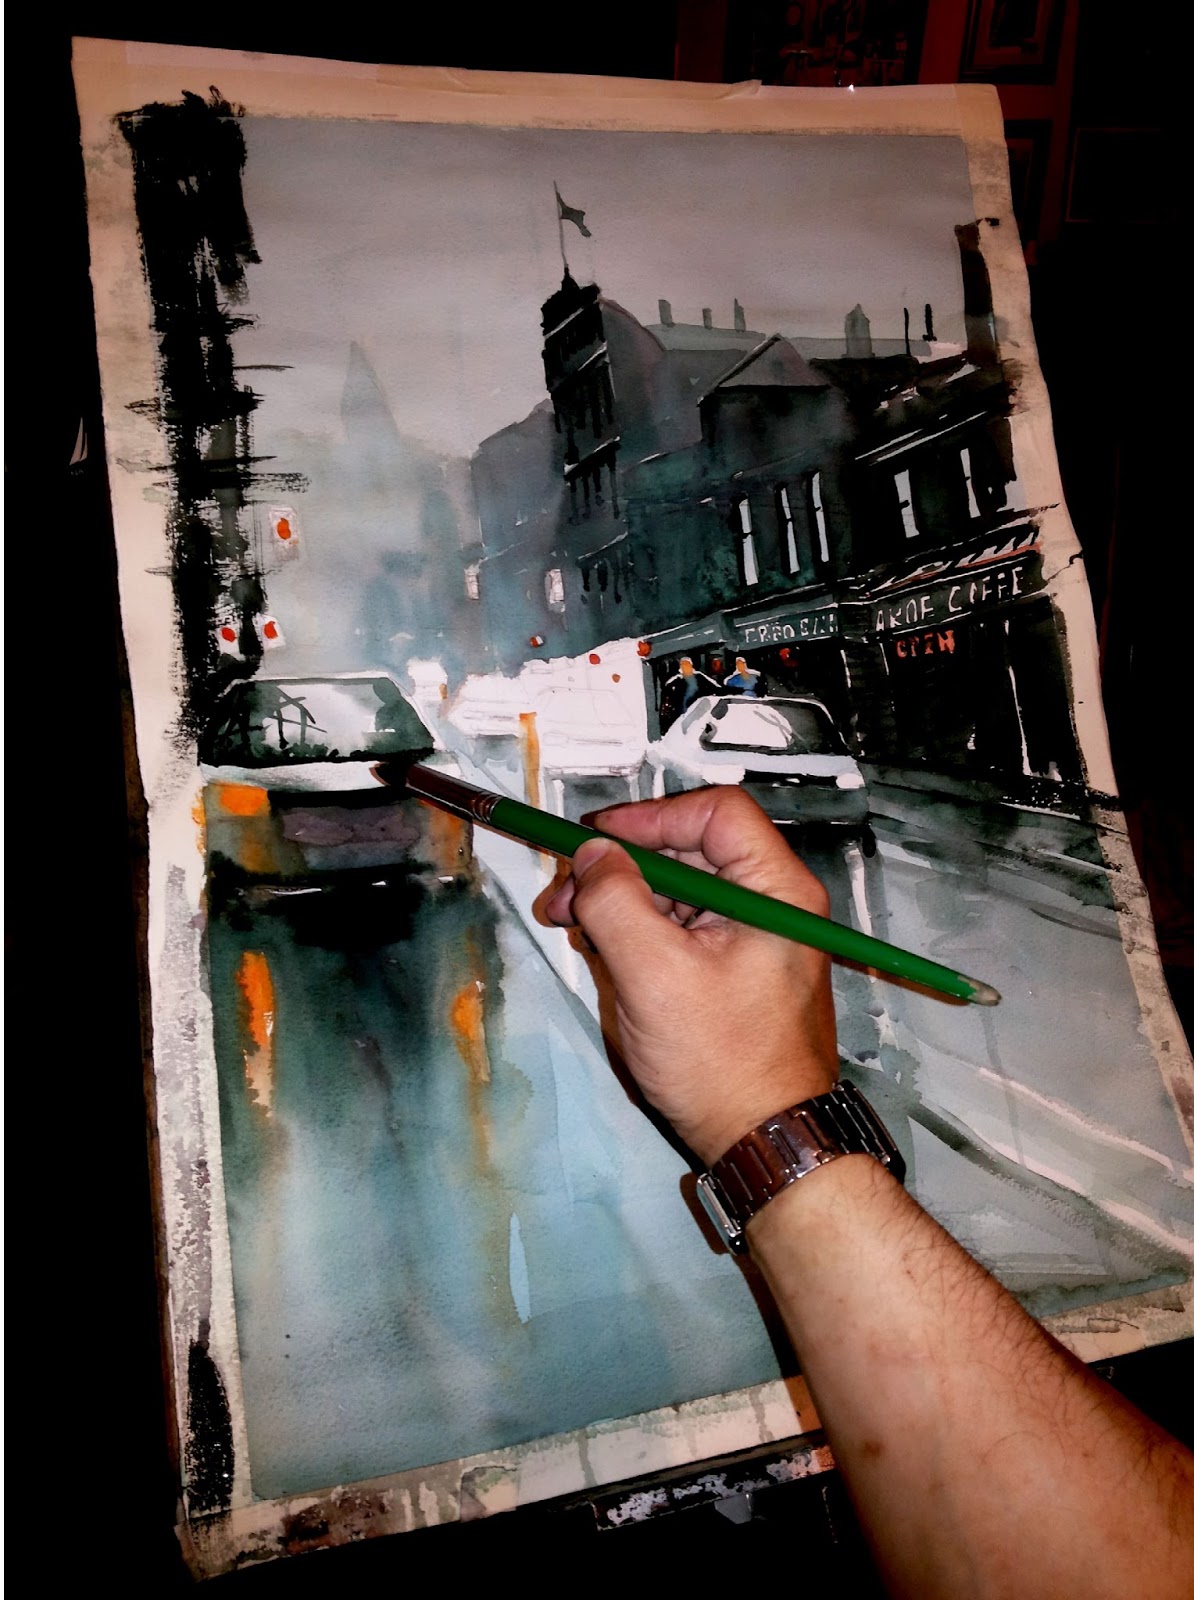
After you complete your preliminary sketch, begin painting
the midvalues. the most important part of step 1 is to leave
some white of the paper where the center of interest will be.
Some midvalues will be lighter and some will be darker, but
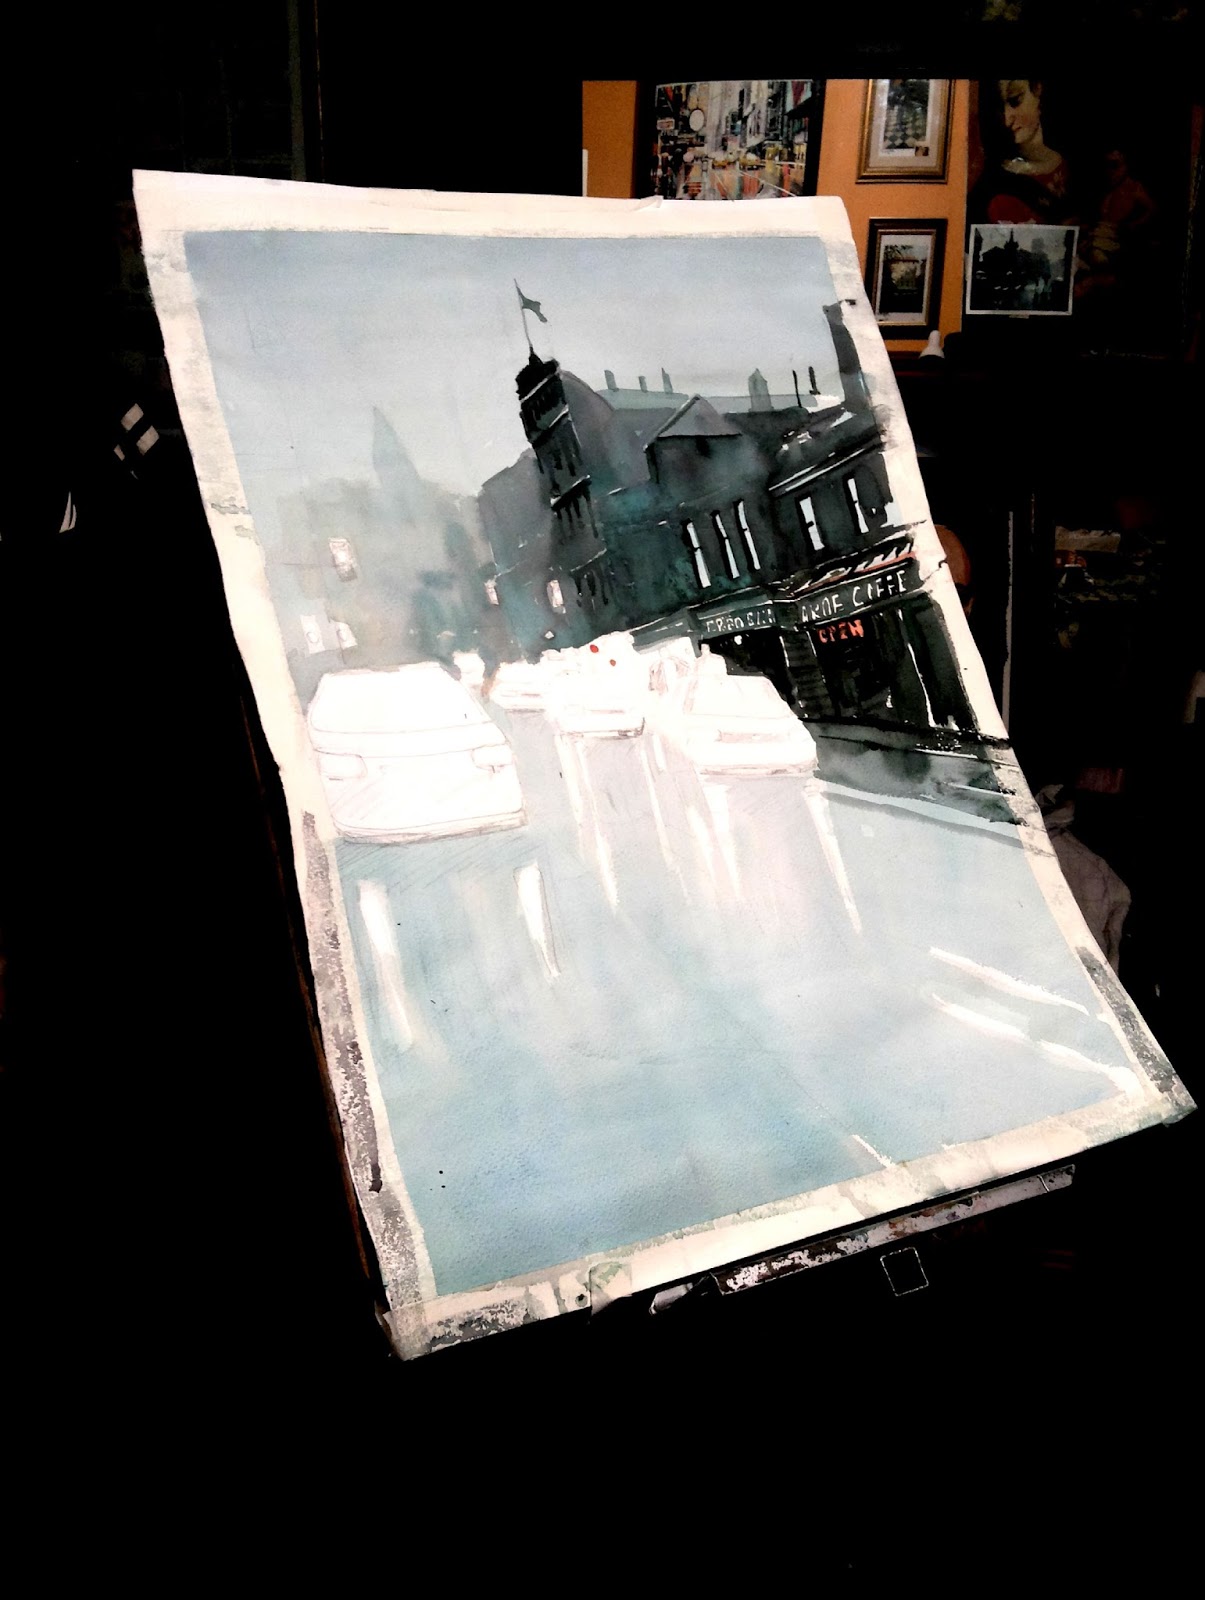
Step one: Block In Shapes While Saving Whites
they will all fall near the midvalue range. the goal of step 1
is to establish the painting’s Background color that determine the atmosphere and create the center of
interest by preserving some white of the paper.

Begin the Midvalues While Saving Some White Paper
Wet the entire piece of paper with a 2-inch (51mm) flat brush. Use this brush to
apply a light, wet wash of Primary Blue-Cyan starting at the top and down of the paper that represent the sky and the highway of the streetscape. Since this is a light color,
it’s OK to paint sky and highways in this rainy scenes. As you work downward, the paint in your brush
should get thinner giving you a graded wash. While the paper is still wet, use a
1-inch (25mm) flat brush and drier combinations of Prussian Blue with Viridian Green, Cupric Green Deep to paint the background buildings. Leave an area of white to represent the buildings´s windows and to suggest some light inner. Darken the colors at the buildings right that represent the nearest buildings and lighter to represent the farest buildings.